
Last Updated on December 14, 2025 by “Talha”
The Cuphead: The Delicious Last Course DLC brings some seriously tough bosses, and the secret Angel and Devil fight is no exception. This hidden battle is one of the more unique challenges in the game, flipping the usual gameplay on its head. If you’re looking to unlock and beat this tricky boss, you’re in the right place. This guide will walk you through every step, from finding the secret boss to taking down the Angel and Devil with ease. Let’s get into it and make sure you’re ready for this intense showdown.
Unlocking Angel and Demon
Acquiring the Broken Relic
To get started, head over to Porkrind’s Emporium and pick up the Broken Relic. It’s a key item you’ll need to unlock the secret boss fight. The relic is fairly cheap, so it won’t set you back much. Once you’ve got it, make sure to equip it right away—this is crucial for progressing to the next steps.
Solving the Graveyard Puzzle
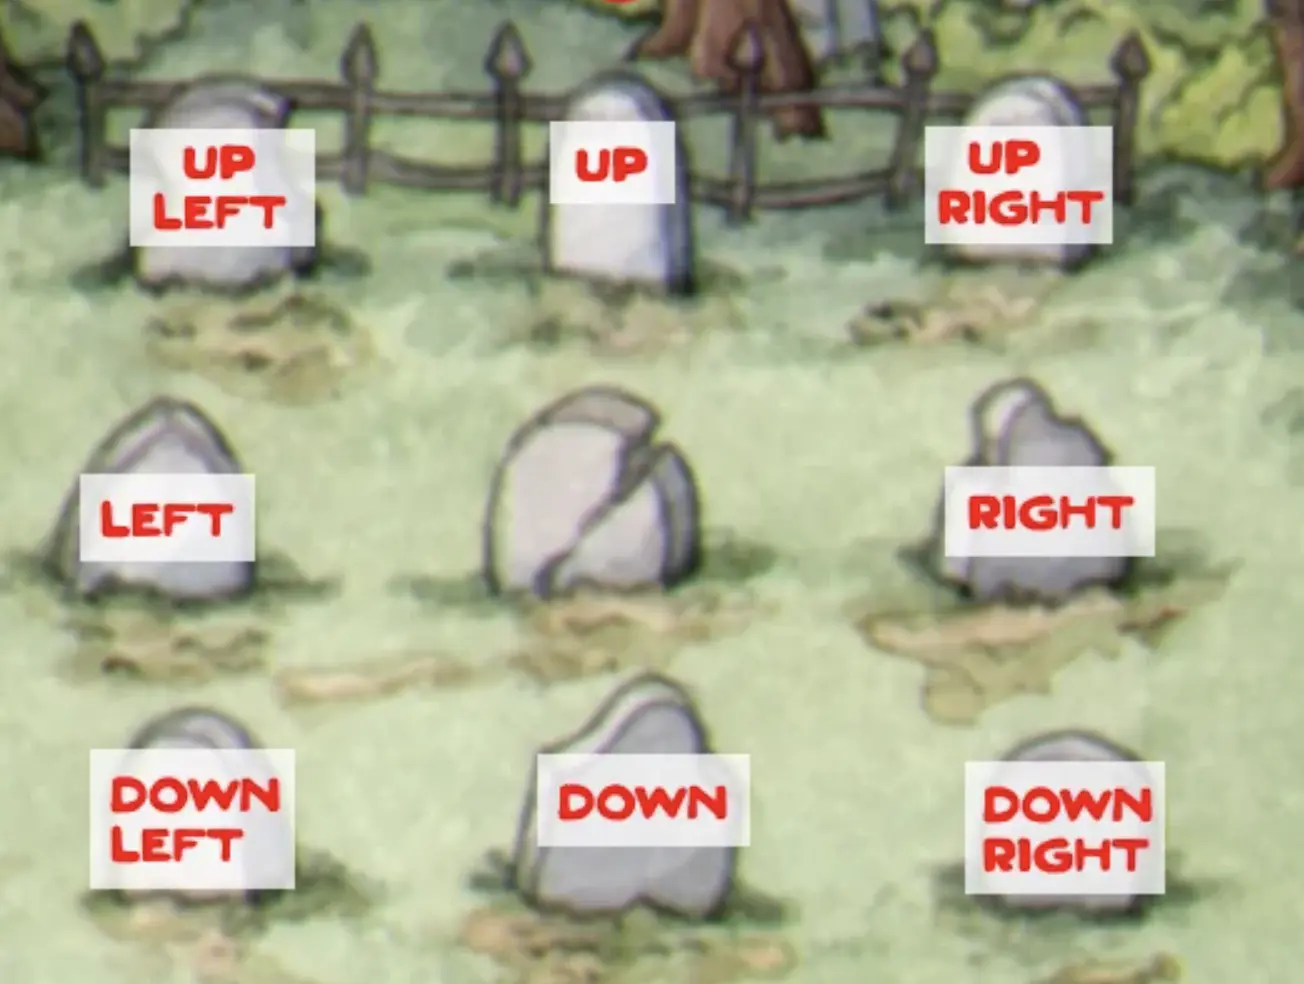
With the Broken Relic equipped, make your way to Inkwell Isle Four and look for the graveyard. This is where you’ll need to solve a puzzle to unlock the boss. The trick here is to interact with the NPCs nearby—they’ll give you clues in the form of directions like “right,” “left,” “up,” and “down.”
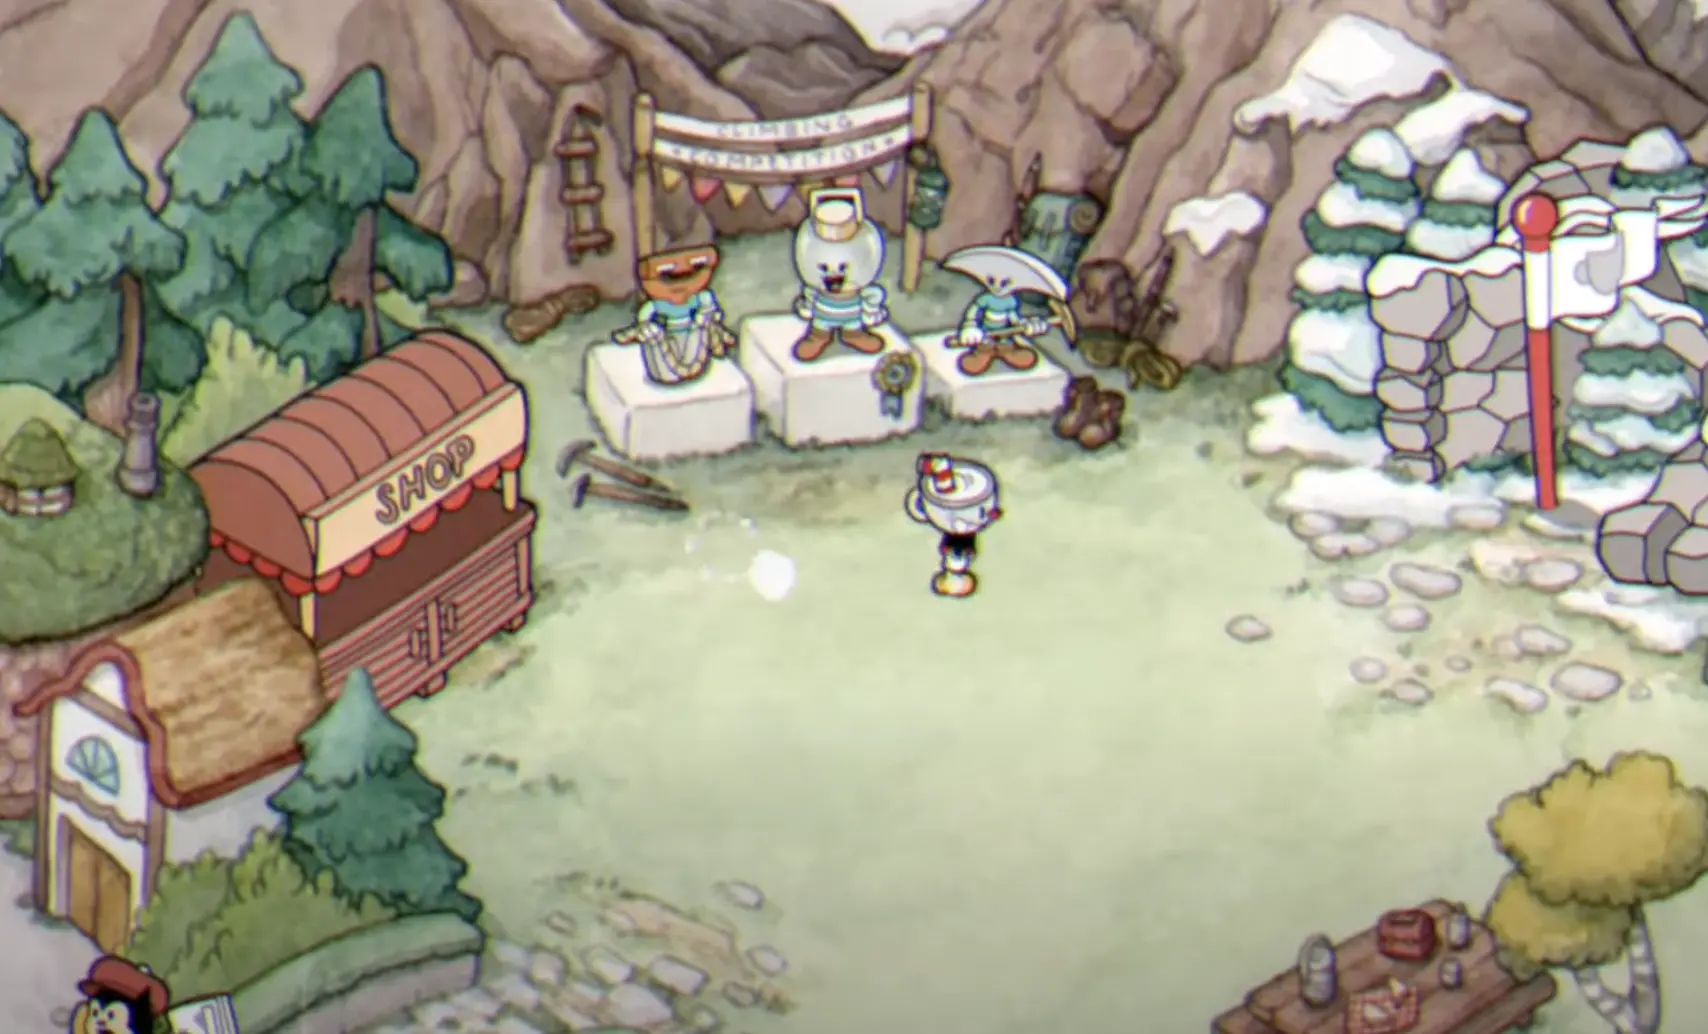
Interact with the NPCs in the order of the podium positions. Middle being the first, left being the second, and right being the third. For us the answer was: UP, DOWN, UP RIGHT. For you, it can be different, therefore focus on the clues from NPCs’s dialogues.
Following is the direction mapping of the graves.
Unlocking the Boss
After solving the puzzle, you’ll unlock the secret boss fight with Angel and Demon. Get ready, because this battle is unlike any other in the game. Make sure you’re fully prepared before you jump in.
Understanding the Boss Mechanics
Boss Structure
This boss fight in the Cuphead DLC stands out for a few reasons. Unlike many other bosses in the game, this one is unique because it’s a single-stage battle. You won’t be moving through different phases as you chip away at its health. Nope, it’s just you versus the Angel and Demon in one continuous showdown. Also, this isn’t a mini-boss you can quickly brush off. It’s a full-fledged challenge that demands your focus and reflexes.
Angel and Demon Mechanics
Angel’s Role
Let’s start with the Angel. The Angel always positions itself behind your character. This is crucial because, as you turn around, the Angel and Demon swap places. The Angel isn’t trying to harm you—its attacks are completely harmless. But don’t let that fool you into thinking the Angel is just there for show. The Angel’s presence is significant because it forces you to think about your movements and timing. Since it’s always behind you, the Demon will always be in front, launching its relentless attacks. This dynamic makes positioning and timing everything in this fight.
Demon’s Role
Now, the Demon is where things get serious. The Demon is responsible for the primary attacks you’ll need to dodge. These include shooting fireballs and creating a menacing wall of fire. The fireballs can be tricky to avoid, but it’s the wall of fire that really tests your reflexes. You’ll need to jump, dash, and weave your way through these attacks if you want to survive.
What makes this fight even more challenging is the overlap between the Angel and Demon’s effects. When they swap positions, their attacks combine in ways that can quickly overwhelm you. For example, the fire wall can be paired with water from the Angel’s influence, creating barriers that require precision to avoid. The key here is understanding how their actions interact, staying aware of their positions, and using that knowledge to stay one step ahead.
Fighting the Boss

Positioning Strategies
Managing your position is key in this fight. Angel will always stay behind you, and Demon will always be in front. The trick is to control when you turn around—this swaps their positions. You want to keep Demon in front of you at all times since his attacks are the ones that can hurt you. Whenever you need to change direction, do it quickly to avoid unnecessary damage.
Handling Attacks
Demon has a few attacks that you need to watch out for. His main move is spitting fireballs at you, usually in sets of three. The first two are straightforward, but the third one can be parried. Make sure to jump and parry that third fireball whenever possible.
You’ll also need to deal with the lightning cloud that floats around during the fight. If it touches you, it’ll deal damage, so stay on the move and try to position yourself away from it. The other big threat is the walls of fire and water that appear depending on what Angel and Demon are doing. If Demon is scowling, expect a wall of fire. If Angel is singing, the wall will switch to water. Only one wall can be up at a time, so stay alert and move accordingly.
Timing and Execution
Timing is everything in this fight. You’ll need to be precise with your dodges and parries, especially when dealing with the third fireball. Keep an eye on the attacks and react calmly—rushing will only lead to mistakes. Consistency is key here. Focus on dodging and countering at the right moments, and you’ll gradually chip away at their health. Stay calm, keep your cool, and you’ll get through it.
Advanced Strategies

Optimizing Damage
Picking the right weapons and charms is key to doing well in this fight. The Chaser weapon is a good pick since it lets you focus on dodging instead of aiming, which helps when there are lots of obstacles on the screen. The Spread Shot is also useful if you can get close to the Demon and want to deal a lot of damage fast.
For charms, Smoke Bomb is very helpful because it lets you dash through obstacles without taking damage. This is great for avoiding the Demon’s fire attacks or the tough fire and water combos. If you’re good at parrying, Heart Ring can also help by giving you an extra hit point when you need it most.
Using Visual Cues
Staying alive in this fight means paying close attention to the visual cues from both the Angel and the Demon. The Demon’s attacks, especially the fireballs, have specific tells before they’re unleashed. Keep an eye on the Demon’s position and the way it moves. If you notice it winding up for an attack, get ready to dodge.
On the other hand, the Angel’s movement can help you anticipate when and where the Demon’s attacks will come from. Since they swap places when you turn around, you can predict the direction of the next attack by watching where the Angel is currently hovering. This is crucial for avoiding those sudden walls of fire that can catch you off guard.
Recovery Tactics
No one’s perfect, and mistakes happen—especially in a fight as intense as this one. If you get hit by something like the lightning cloud, don’t panic. The key is to quickly refocus. Take a moment to assess your position and get back into a rhythm. If you find yourself trapped by a wall of fire, try to use the Smoke Bomb dash to phase through it. If that’s not an option, sometimes it’s better to take a hit and move to a safer spot rather than risk getting cornered and taking even more damage.
Also, remember that the Angel’s presence gives you a bit of breathing room. Since it’s not attacking, you can use moments when the Demon is behind you to regroup and plan your next move. Keep calm, keep dodging, and remember that every mistake is a learning opportunity.
Recap and Quick Reference

Summary of Key Strategies
- Keep Demon in Front: Always position yourself so that Demon is in front of you, as his attacks are the ones that can actually hurt you.
- Parry the Third Fireball: Watch out for the sets of three fireballs Demon shoots—the third one is parryable and can give you an advantage.
- Manage the Lightning Cloud: Stay on the move to avoid the floating lightning cloud, which can deal damage if it touches you.
- Watch the Walls: Pay attention to Angel and Demon’s actions to anticipate whether a wall of fire or water will appear. Move accordingly to avoid getting hit.
- Stay Calm and Consistent: Focus on timing your dodges and parries. Don’t rush—consistency and staying calm are key to surviving the fight.
Quick Reference Guide
- Equip the Broken Relic before starting the puzzle to unlock the boss.
- Interact with NPCs in the graveyard to gather clues and solve the puzzle.
- Keep turning quickly to control the position of Angel and Demon.
- Parry opportunities: Third fireball and certain attacks—use these to gain an edge.
- Stay mobile: Avoid the lightning cloud and react quickly to the changing walls.
- Don’t panic: Focus on dodging and countering, and you’ll slowly but surely defeat Angel and Demon.
Common Mistakes to Avoid
No Positioning
A common mistake in this battle is rushing and skipping important strategies or ignoring key mechanics. It can be tempting to just dodge and shoot, but if you overlook the details, you might struggle. For instance, if you don’t manage the Angel and Demon’s positions well, the fight gets much tougher. Every part of this boss fight is meant to challenge different skills, so make sure you use all the tactics to stay ready for what’s ahead.
Neglecting ORDR
In the heat of battle, it’s easy to lose track of your surroundings, but staying aware of your Orientation, Range, Distance, and Reaction (ORDR) relative to the boss is crucial. If you get too close to the Demon, you’re at higher risk of getting hit by its fireballs or the wall of fire. On the flip side, staying too far away might make it harder to dodge certain attacks or land your shots effectively. Balancing your positioning and always being aware of where you are in relation to the boss can make the difference between victory and defeat.
Final Thoughts
The Angel and Demon boss in the Cuphead DLC is one of the toughest challenges you’ll face. But with the right strategy, it’s definitely beatable. Remember, it’s all about staying calm, managing your positioning, and paying attention to the visual cues. Don’t rush—take your time to learn the patterns and get comfortable with the mechanics.
Keep Demon in front, use your parries wisely, and make the most of your charms and weapons. If you make a mistake, don’t let it throw you off. Regroup, refocus, and get back into the fight. With persistence and patience, you’ll conquer this secret boss and add another victory to your list. Good luck!