
In Asterigos: Curse of the Stars Hilda must explore the city from the old Aphes and find the cause of its curse. She engages in battles with mystical foes of all kinds. The game has fun obstacles to beat as well as over 100+ collectibles to find and collect. All these collectibles will get you different rewards and complete achievements for you. We have compiled a guide for all the Asterigos: Curse of the Stars Outer Rim Collectibles. All these collectibles will get you different rewards and complete achievements for you.
- Guide to Asterigos: Curse of the Stars Skill Tree
- A Weapon Guide to Asterigos: Curse of the Stars
Unlockable Achievements
- Collecting all the Documents will reward you with the Bookworm achievement.
- Collecting all the Conduits will reward you with the All Roads Lead to Aphes achievement.
- Collecting all the Teumes will reward you with the M for Mystic achievement.
- Collecting all the Treasure Chests will reward you with the Treasure Raider achievement.
Asterigos: Curse of the Stars Outer Rim Collectibles

Document 1/7 – Legion Special Orders
The first Legion Special Order Document is in the path of the main story quest. You will find it lying on the road.


Document 2/7 – Runaway Diary #3
Continuing from the previous location, moving to the right you will find the path blocked by planks. Attack the barricade to break it down.

Here Hilda will encounter a thief. You are required to run after it.

As you follow the thief you will run past the place that holds the Runaway Diary #3. It’s a little offpath to the left.


Conduit 1/2
You will find the first Conduit at the beginning of the border outpost. This will serve as a respawning place for Hilda.


Document 3/7 – The Fallen Star
Just a few steps ahead of the Conduit you will find the Document #4 – The Fallen Star.


Document 4/7 – Runaway’s Diary #2
Moving left from the last document and right from the tree as shown in the pictures below. You will find the Document #4 at the giant tree’s stump.


The Document is another entry from the Runaway’s Diary.


Teumes 1/1
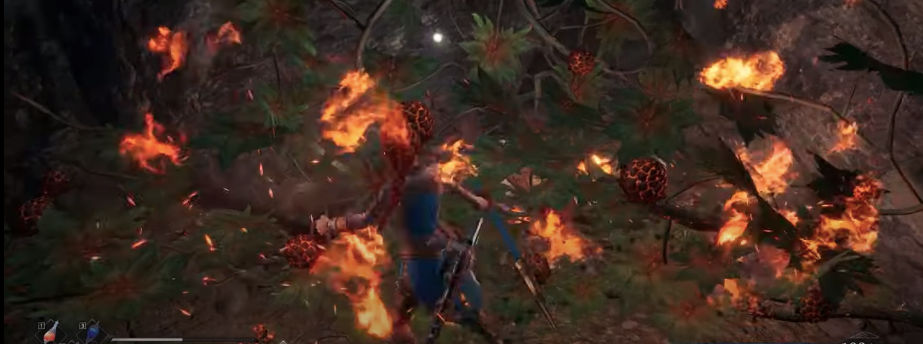
Continuing your path from Document #4’s location. Go over the tree stump in front of you. Stick to the left path and eventually, you will reach the place where you have to cut down a tree to make way. When Hilda hit the tree it falls over. This gives the player a path to cross from. But in order to get Teumes you have to jump down from the fallen tree.

Below you will find an enemy. Repeatedly hit it to get the Morning Star Elixer.

Treasure Chest 1/5
Walk left from the last location and keep going down the path. You will eventually reach Duskedge. The first Treasure Chest is right ahead in the middle of a broken cart.


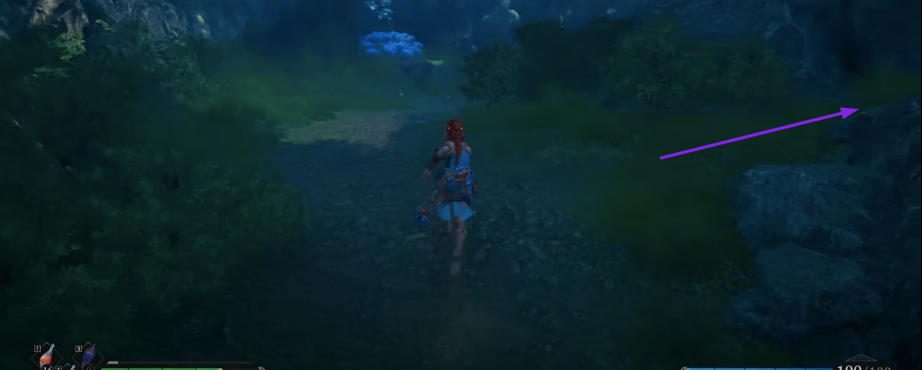
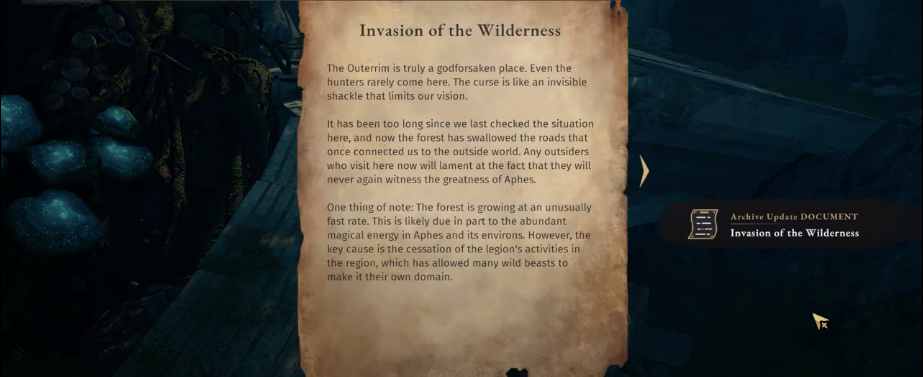
Document 5/7 – Invasion of The Wilderness
From Document #4’s location, start moving right. Follow path to the white bridge where you will find Document #5.

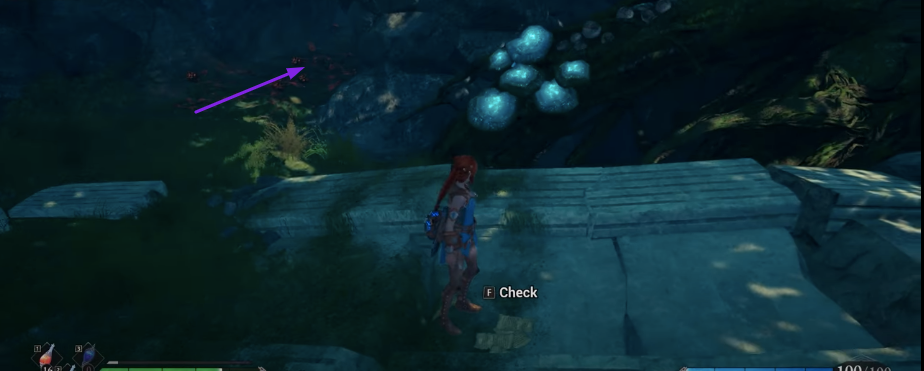
Treasure Chest 2/5
From the white bridge, move to the left through the spore and you’ll reach treasure chest number 2.
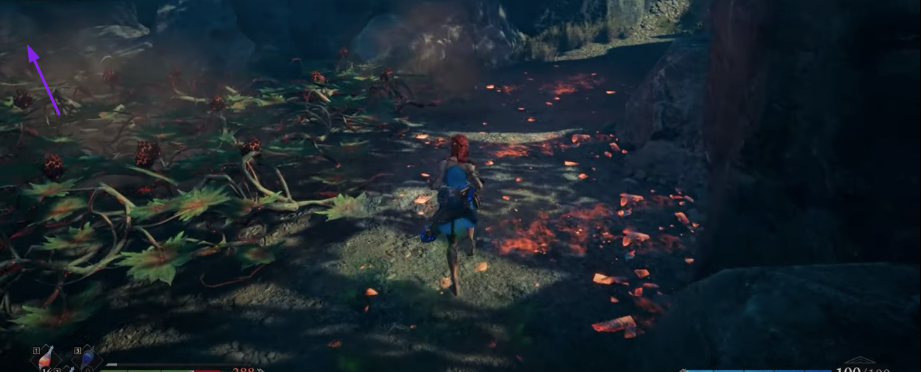

Treasure Chest 3/2
This treasure chest is only accessible after you’ve unlocked free roam and fire enhance. Right next to the treasure chest 2, burn the spores that are to the left. To reveal the hidden Treasure Chest number 3.
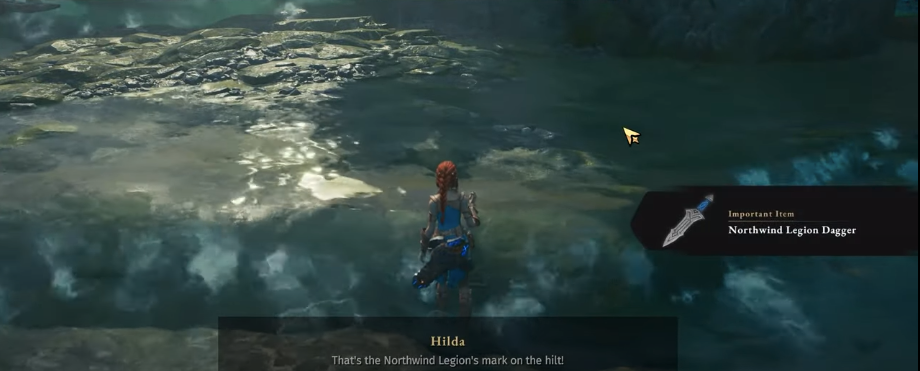
Northwind Legion Dagger
You can collect the Northwind Legion Dagger from the stream in the picture below. It is a drop by the Raveneous Boss.
Conduit 2/2
From the Northwind Legion Dagger, go right. Walk through the cave covered in spores. Make your way out of the cave by staying close to the left way. climb out of the cave to Horned Owl Overlook. Interact with the Second Conduit to activate it.

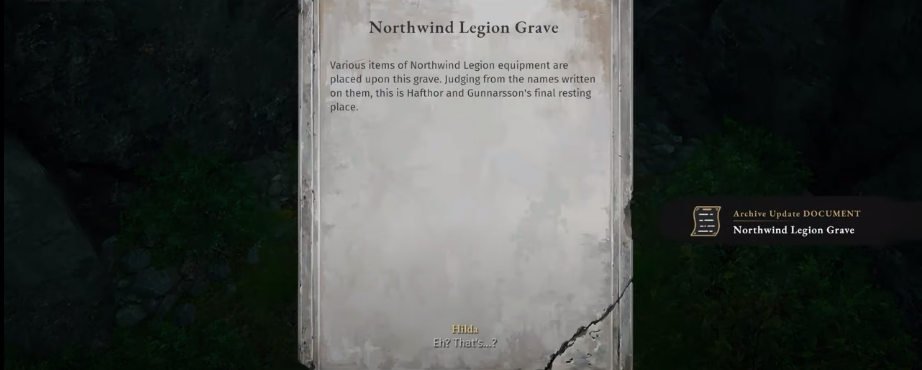
Document 6/7 – Northwind Legion Grave
From the Conduit, continue down the path and follow the arrow to get to the Northwin Legion Grave.

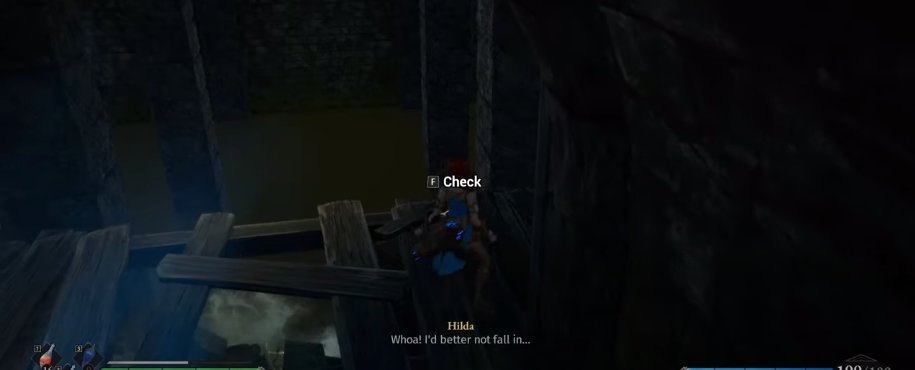
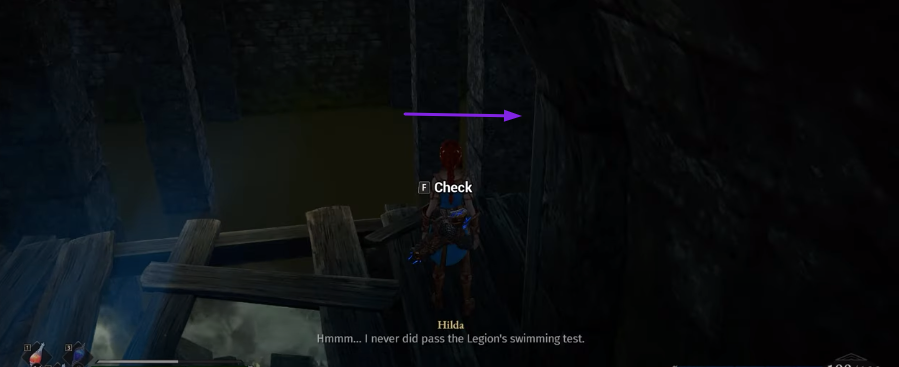
Document 7/7 – Runaway’s Diary #1
At the end of the path, you will see an entrance to a stream. If you go inside and walk through the entirety of the tunnel filled with water you will get the final entry of the Runaway’s Diary.


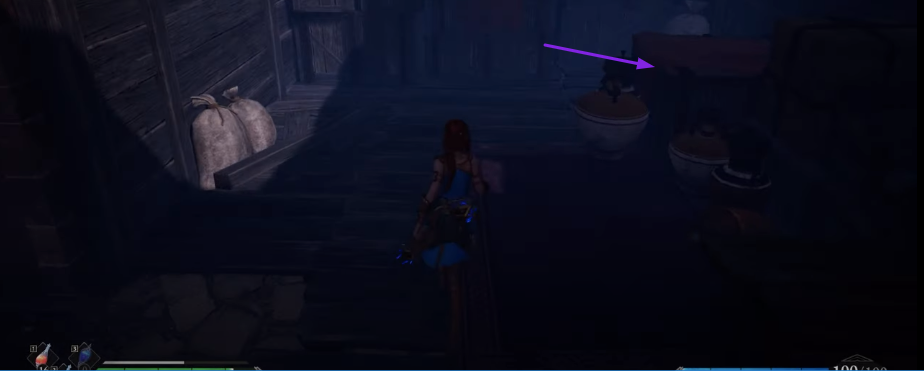
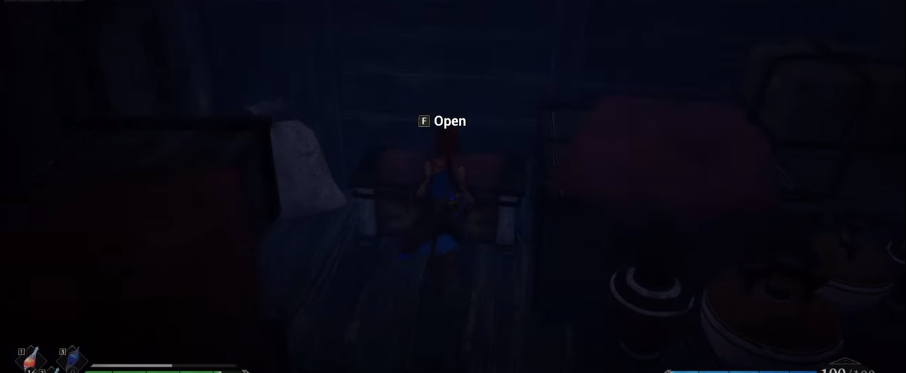
Treasure Chest 4/5
To the left of the Runaway’s Diary you will find a Treasure Chest.


Treasure Chest 5/5
The last Treasure Chest can be found right after you get out of the tunnel.

Tell us which guide to cover next in the comments section below. Follow Retrology for updates on Overwatch 2 Kiriko Guide: Abilities, Ultimate, and Tips, and other guides.